-
- To model a conceptual Mass in Revit, enter the Massing and Site Tool on the Revit Menu. Choose In-Place Mass which will take you to the massing editor.
- Levels should be set correctly in an Elevation View. Create the desired floor plan shape with the shape tools on the menu.
- Click on this shape and choose Create Form on the menu.
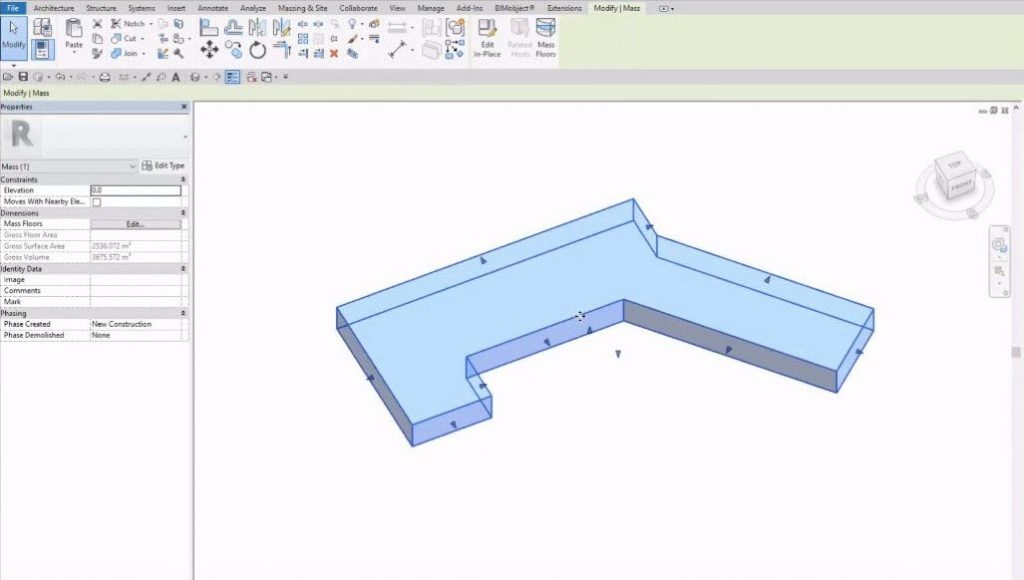
Using a footprint and extruding to the First Level - This will create a 3D form. This can be copied and pasted to other levels by choosing Paste – Aligned to Selected Levels on the Revit Menu. This should be done while still in the Mass Editor. If different floor plan shapes are required, these should be modeled separately.
Copy and Paste the extrusion to the next level if the design allows - Once this is complete, click on the Green Check mark on the menu Finish Mass.

- Back in the Revit window, click on the entire Mass and choose Mass Floors on the Menu. Choose the required levels to include except the roof level (which is not a floor).
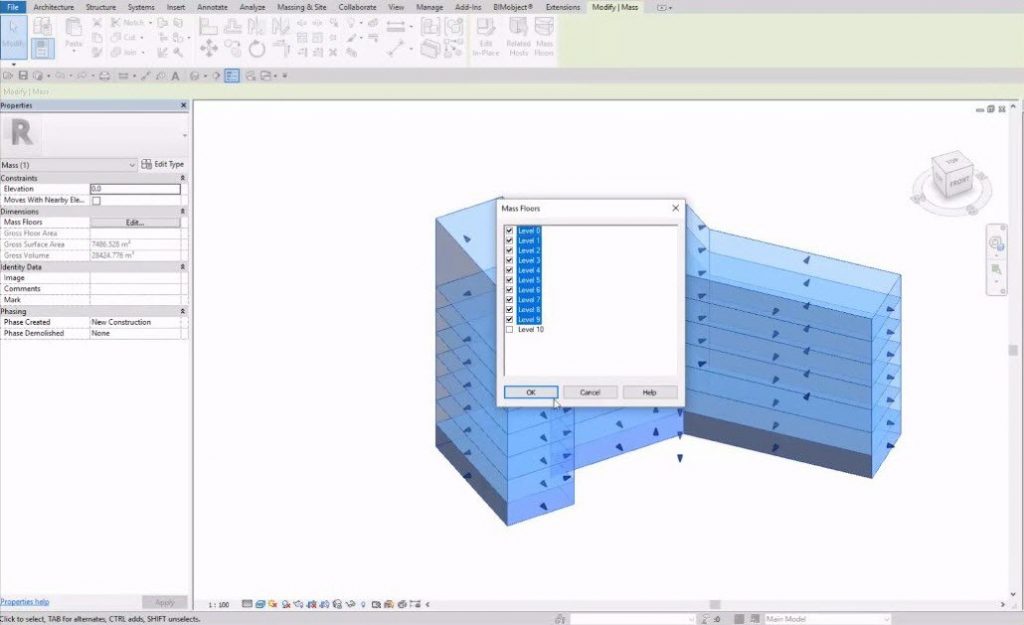
Assign Mass Floors to all Levels except the Roof - Ensure that the lowest floor of the Mass is on the actual Level by going to an Elevation View. If this is not the case, the Energy Model may not be created successfully. Check that the Ground Plane in the Energy Setting is correct (if there are levels below this level that is set here, they will be treated as unconditioned spaces).

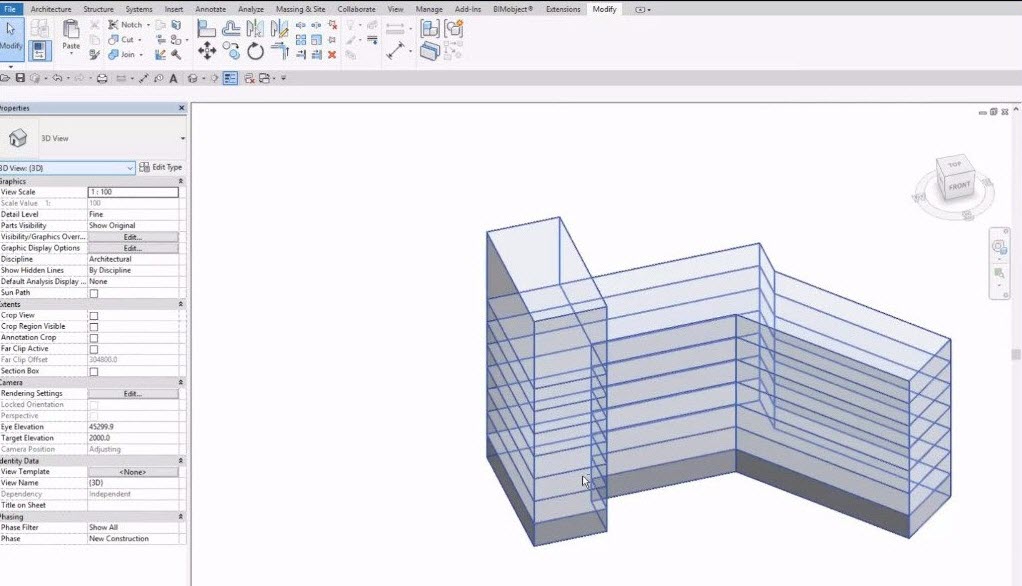
Mass should touch the lowest level
- Go to the Analyze Tab on the Revit Menu and click on Energy Settings. Check that options here are set correctly. Conceptual Masses should be set here as the Mode. You may set the glazing percentage also for the mass model (this may also be set later in the application. Perimeter depth (Core Offset) may be set also.

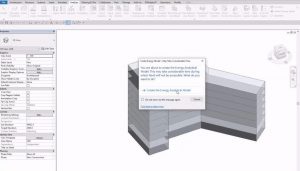
- Create the Energy Model. If this is successful and does not produce warnings, open the application and choose the Use Conceptual Masses option. Then Select the mass object to be analyzed.
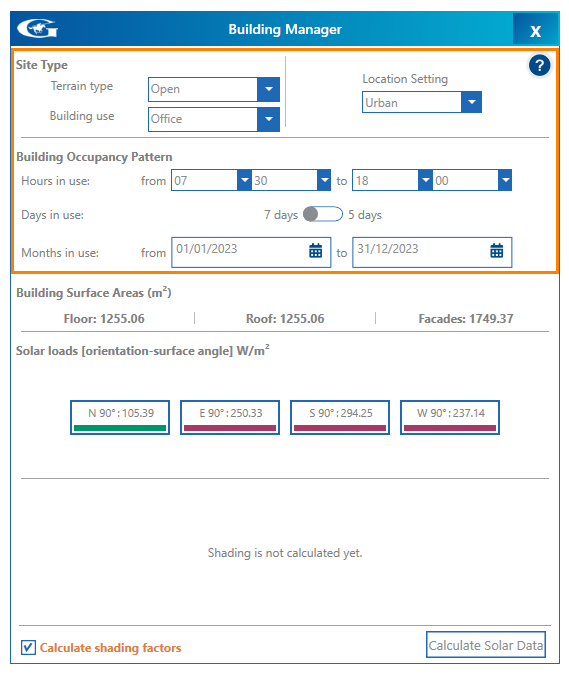
Create the Energy Analytical Model in Revit - If the project has not been opened before with the application, the Building Manager will open. Create settings to suit your project and calculate then Solar Loads here.
- Close the Building Manager and return to the main window to use Performance and Facades.

- Select individual surfaces and modify settings for Glazing Specification, Glazing Dimensions, Shading, Fritting and Surrounding Buildings. The results on the Charts and Dashboard will change when modifications are made.


Having modeled Level by Level, more control over Surfaces is possible