There is a video below on how to sign up to Guardian Glass to create an account (you must have an account to access and download the software).
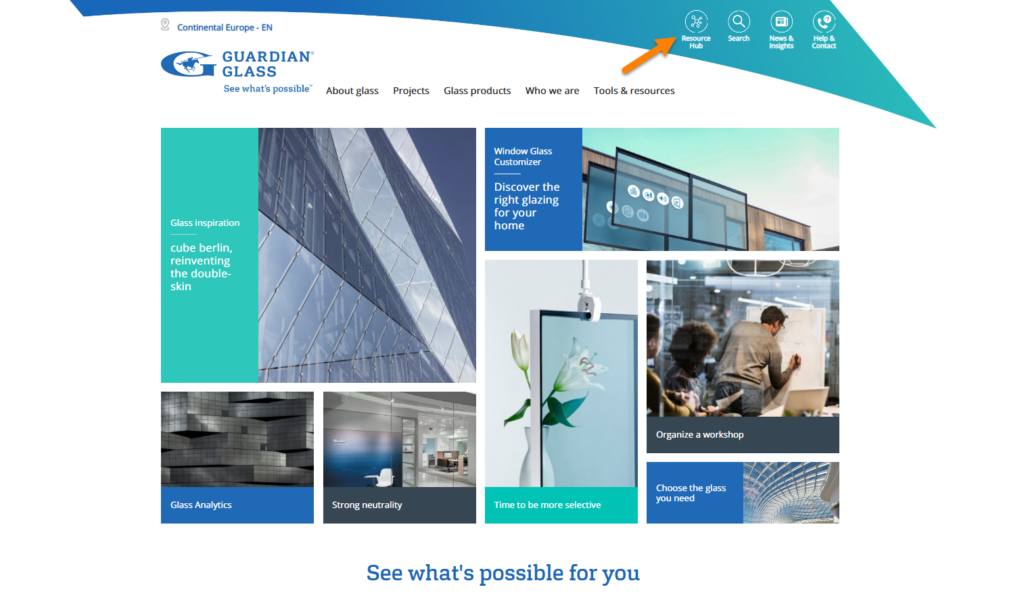
Please go to the Guardian Glass website and select your region (Europe, North America, South America, Middle East & Africa or Asia Pacific).

Click on the Resource Hub button.
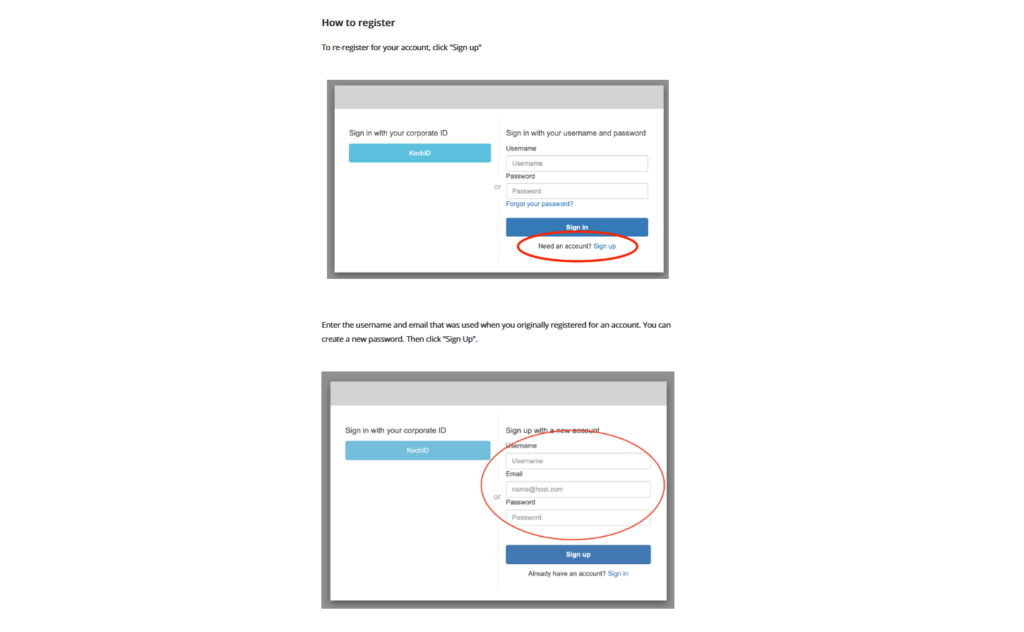
This will open a new window where you may sign up for a free account with Guardian Glass. Note: you must have a Guardian account before you can download and sign into the software. This will give you access to various tools such as Glass Analytics, Performance Calculator and Guardian Glass for BIM.
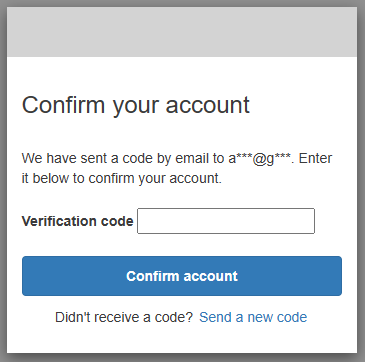
You will receive a verification code to the email address that you provided. Input this code into the window on screen and then click on Confirm Account.
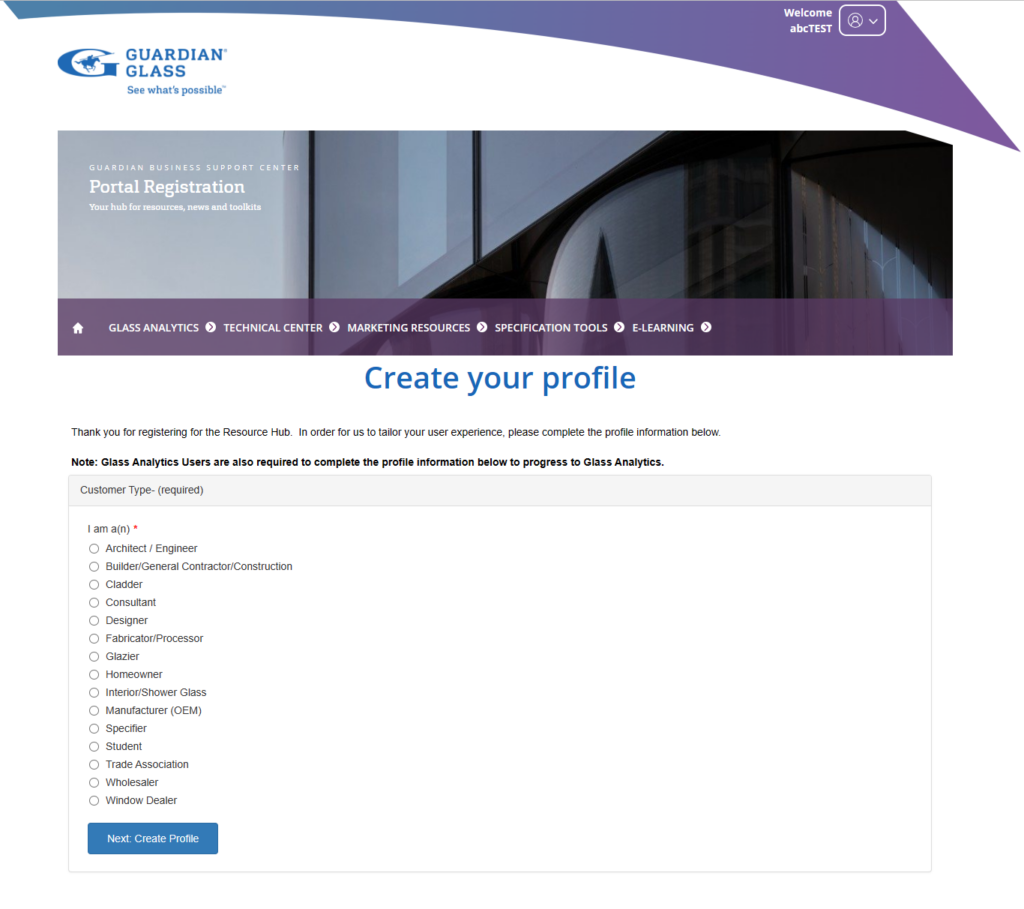
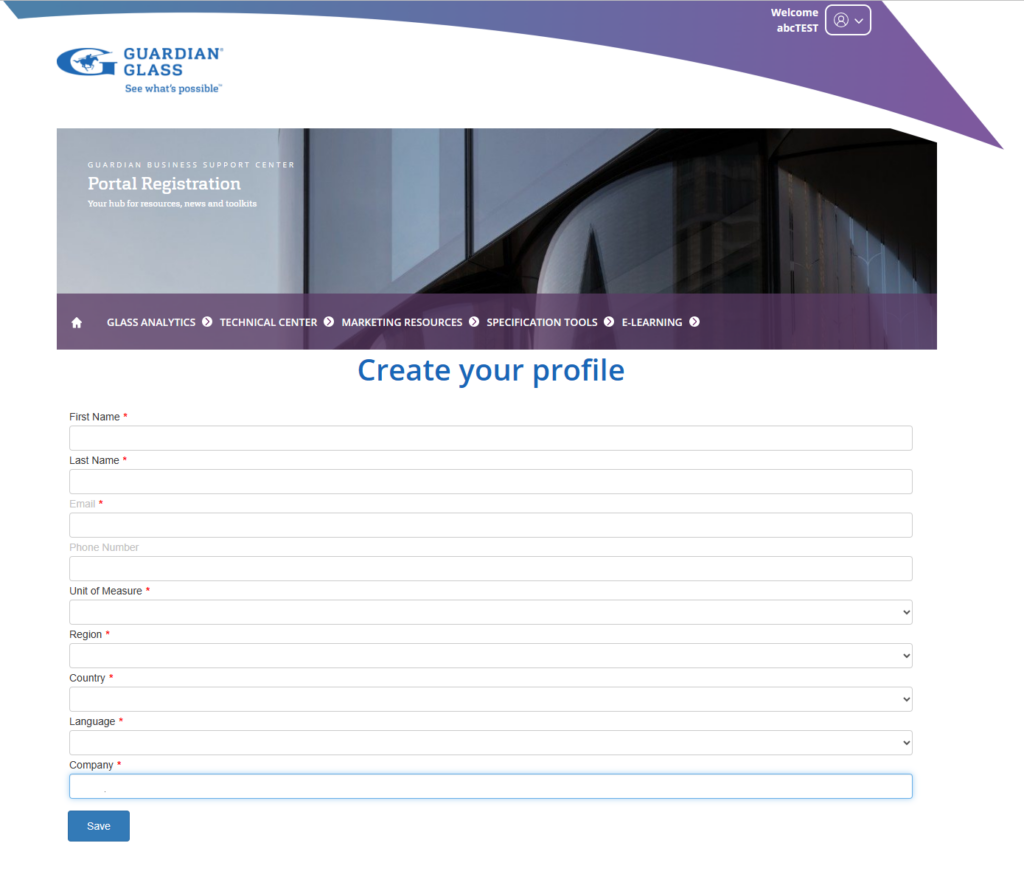
The confirmation link in the email will take you to a browser window where you can fill in the profile details for your account (two pages). Fill in the details her to create your Guardian account.
Profile Form Page 1
Profile Form Page 2
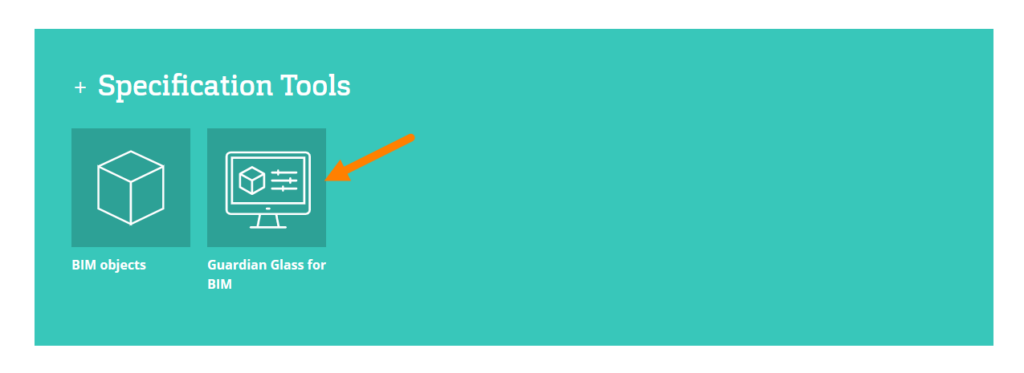
When you have completed signing up, a page will display with various Guardian tools. Scroll down to the Specification Tools section – you may then click on the button for Guardian Glass for BIM button.
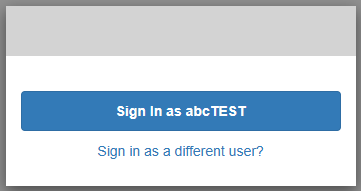
Clicking on this button will take you into your Account area (since you are already signed into Guardian, confirm that you wish to sign into your Guardian Glass for BIM account with this same username).

You can always sign in to your Guardian Glass for BIM Account anytime using this link also:

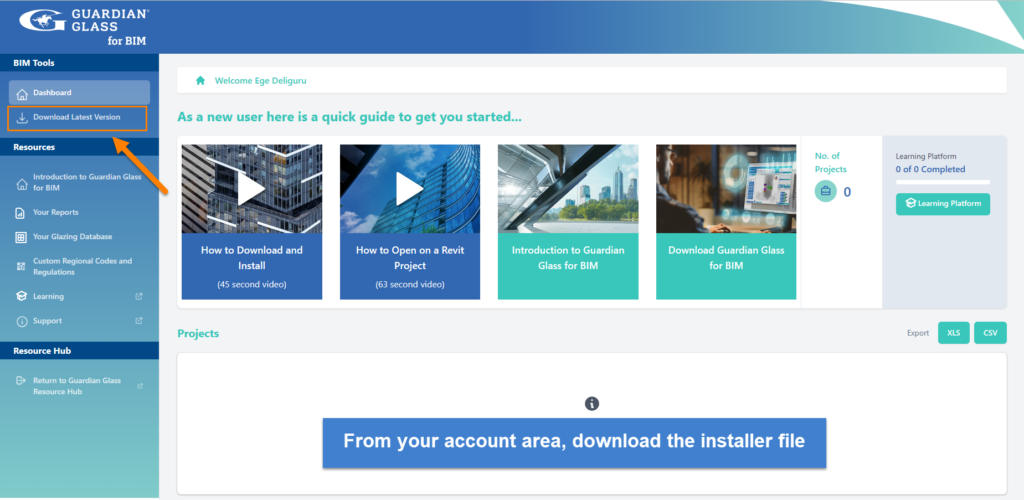
From your online account area, you may then download and install the application for Revit.
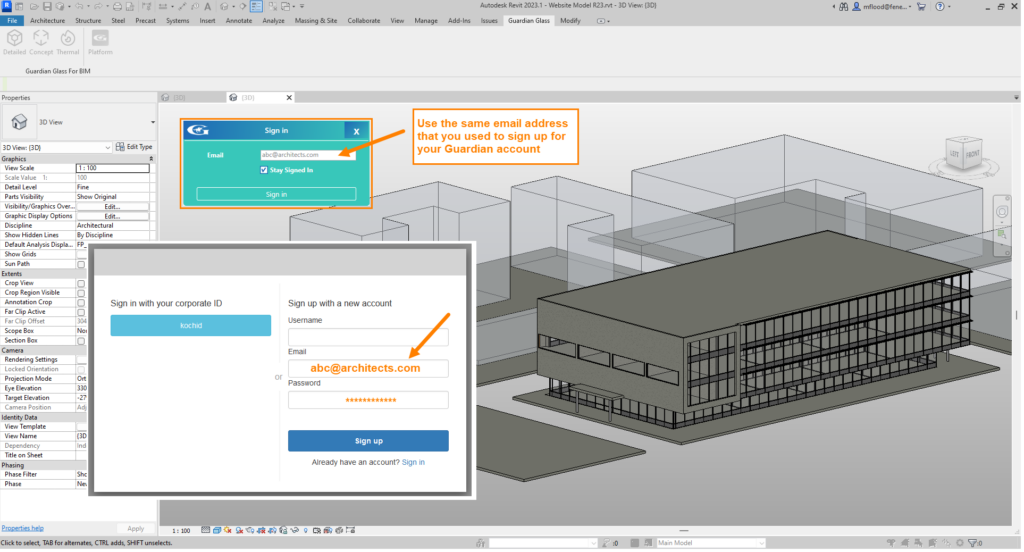
When you open the Add-in on the Revit menu, please use the same email address to sign into the Guardian Glass for BIM application.
![]()
![]()